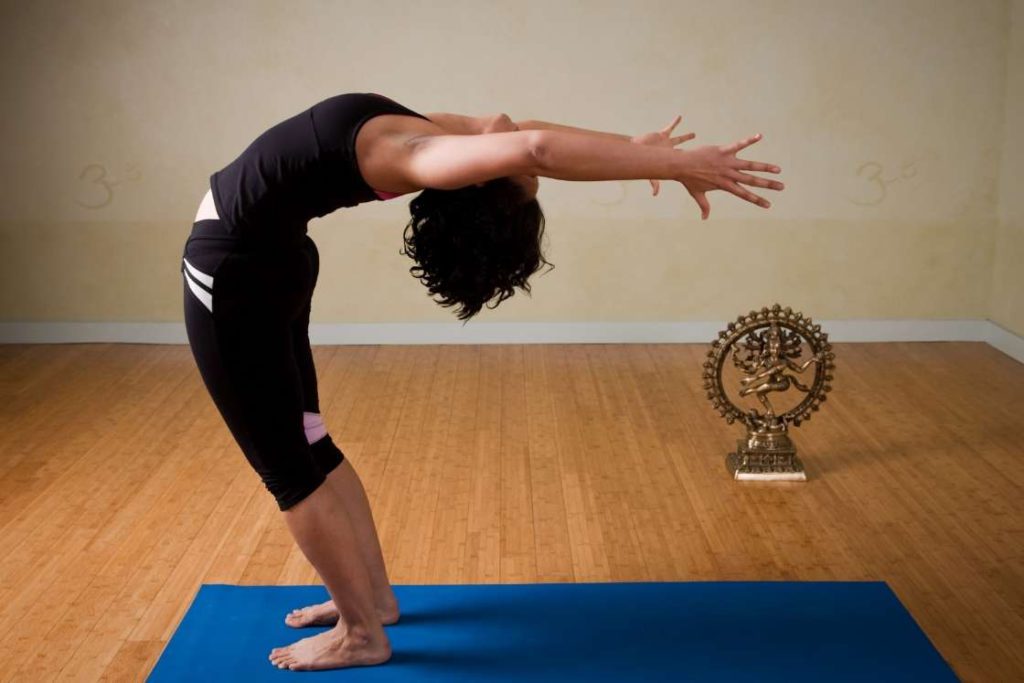
Did you know that Novak Djokovic is a committed practitioner of yoga? He even stated that yoga and meditation help him to be “at an optimal state of mind and have peace and calm in life.” And it is not just Novak, the likes of Andy Murray and Serena Williams too, have embraced yoga.
As a tennis player, you will need flexibility, agility, strength, and energy. You need to generate power with every stroke. You need to generate the power swiftly. And your body needs to be resilient enough to remain injury-free while absorbing the recoil of each stroke.
Obviously, to have such physical conditioning, simply practicing tennis won’t be enough. You will need to engage in cross-sport exercises, like yoga.
Dealing Demanding Nature of Tennis with Yoga
Tennis is a very demanding sport. You will need the utmost level of neuromuscular conditioning to perform well and remain injury-free. A point to note here is that nervous training is equally important in tennis, as muscle training.
Yoga poses have a unique stimulation effect on your CNS, that can influence GABA and dopamine activity in and around your midbrain. This influence can make the neurons increase their stimulation on muscle fibers, especially the type 2 fibers. With the increased stimulation to type 2 fibers in your muscles, they contract with a lot of power.
The nervous benefits derived from yoga will get sudden acceleration and deceleration ability, which you often need in tennis.
Tennis has evolved a lot over time, and it has become an extremely fast-paced game. It requires inhumane explosiveness. Yoga strengthens your cardiovascular abilities, respiratory abilities, and muscle agility, to keep up with the explosive nature of the sport.
Footwork Benefits from Yoga
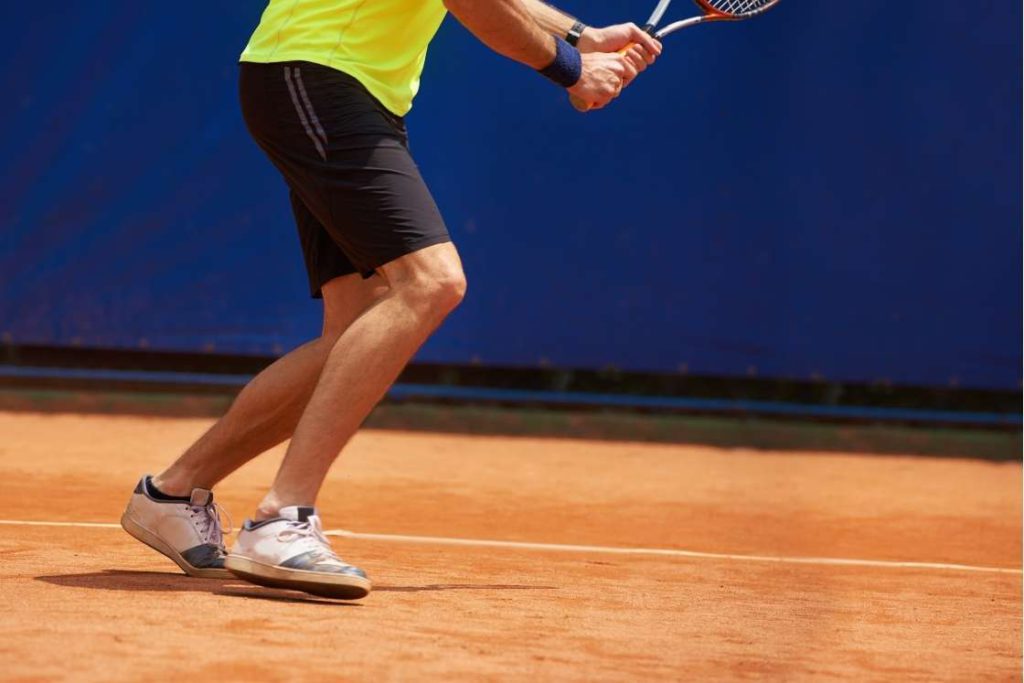
Your footwork is pivotal, as this is the start of your power generation. If you are unable to maintain the right footwork, your strokes will lack power, especially in overhead strokes and rotational strokes.
Practicing yoga helps you maintain balanced leg muscles. Balanced leg muscles will make movements appropriate to generate power.
Moreover, some specific yoga poses help your ankles, knee joints and hip joint have solid power, even at their extreme range of motions. Yoga poses dedicated to strengthen your hamstrings, quadriceps, and calf muscles will also boost your footwork.
To make powerful shots, it is important to take as few steps as possible. Yoga poses like the eagle pose, downward facing dog, and pigeon pose, will help your leg muscles and nerves work in precise synchronization.
A proper synchronization will help your legs move swiftly in multiple directions and planes. Yoga will also help you find the right bond between your legs and hips; both complementing and not restricting each other.
Tennis Stroke Benefits from Yoga
Tennis in its every stroke, involves different muscles for a series of movements, known as the kinetic chain. This chain starts from your feet, moving through the legs, hips, chest, shoulders, arm, and wrists, and then to the racquet.
Yoga will not only enhance the performance of each of these body parts but also ensure they work together in perfect harmony. It is when these parts don’t move in synchronization, you have a bad movement, and thus, an injury.
Yoga Benefits for Tennis Serve
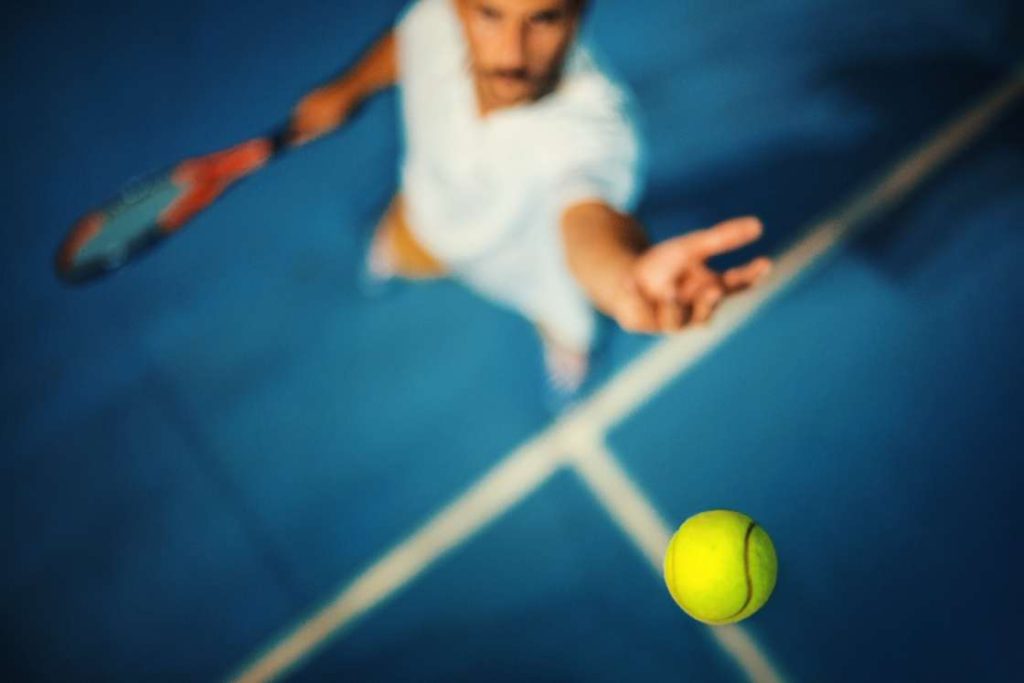
Your serves are invaluable in tennis. For a moment the server gets complete control over the game. If you can work on your serves and master them, it will make a monumental difference to your game.
Yoga can help you work on your shot power, spin, and placement. Practicing yoga enhance your nervous functions for strong hand-eye coordination. This benefit will be critical in nailing the placement.
The nervous benefit will also help you with a powerful and swift draw and uncoil. Yoga poses strengthen the hamstrings in your back leg, your inter-rib muscles, abs, biceps, and triceps. These group of muscles majorly responsible for the kinetic chain of the serve.
Finally, the spinal and joint stretches of yoga will help your spine flex and twist effortlessly during the serve. And your shoulder joint and elbow joint pack a punch in their uncoil.
1. Enhances Groundstrokes
Your groundstrokes will build the core of your play. Thus building these strokes is essential to any tennis player. Groundstrokes are powerful strokes, and generating such power won’t be an easy task.
Yoga poses can help you achieve explosive power in your groundstrokes, both in forehand and backhand. For this crow yoga pose will help you achieve explosive power to your wrists, arms, biceps, triceps, shoulder, chest, abs, and upper back muscles.
For dominating groundstrokes yoga will help you have a strong and balanced footing in your leg. Especially the ankle, knee, hamstrings, and quadriceps.
Poses like the bridge pose and shoulder stand strengthens your lower back, which needs to create a rotational force. The bridge pose exercises your glutes and makes your hips flexible; your hips need to bridge the lower body movement to your upper body movement during the rotation.
Speaking of rotational force, your spine needs to undergo an extreme and sudden twist and flexion; for which poses like revolved chair and camel pose will work wonders.
Revolved chair along with side plank pose is also a very good combination to exercise side abs and side hamstrings; both of which play a quintessential role in your backhand groundstrokes.
2. Helps in volley shot
In any stroke, strength in your muscles and joints is elemental. But, when speaking of volleys there are two unique things you need to be comfortable with, reflex and forward bend.
Yoga will help you develop your reflex by making the bond between your nerves and muscles stronger. As far as the forward bend is concerned, poses like wide-legged forward bend is just perfect to make you comfortable.
In a volley, you need more power from a little swing. This means your muscles need a very sudden and swift contraction. Yoga poses like the cobra and camel, will help you get the required sharp nervous functioning. Also, cow face pose develops the wide range of shoulder motions required for an accurate volley.
3. Enhance overhead smash
Last but not the least, how can we forget about the signature, match-winning smash of tennis. The biomechanics of a smash is a lot like serve. Thus all the benefits you get for the serve, will be effective in case of smash as well. Except for one key difference, you are on the move.
Practicing nervous stimulating yoga poses, and leg exercise poses, will help you develop enhanced coordination between your legs. With regular yoga practice, your footwork will improve, leading up to a perfect smash.
7 Yoga Poses for Tennis Players
Now although in the previous section we have discussed different poses for different benefits, that was just for the sake of understanding. Obviously, you can train those poses as well, however, we plan to discuss a rather concise and compact routine that covers all areas of tennis playing.
1. Cat/Cow Pose
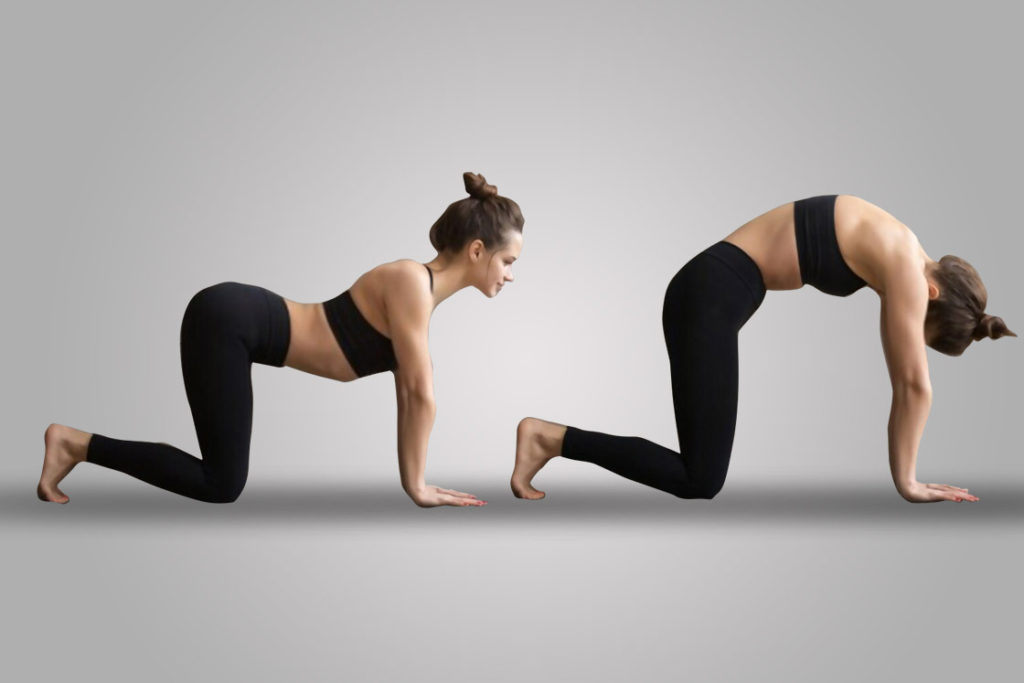
The Cat/Cow pose will prepare your spine for the continuous back and forth flexion of spine. This pose will also strengthen your abs and bring stability to your shoulders.
- Get down on all fours, your hands and knees.
- Keep your wrists exactly below your shoulders and your knees below your hips.
- Inhale and Drop your belly, roll back your shoulders and look up towards the sky.
- Stretch out your feet, with the top of your feet touching the ground.
- Exhale, and crawl up your belly against your spine, roll your shoulders Infront, look down and draw up your feet with your toes touching the ground and heels toward the sky.
- Repeat this 5 times, gradually increase it to 10 times
Note: You can add a crunching motion to your Cat/Cow to enhance the exercise on your abs. For which you will need to stretch out your right hand and left leg, keeping them parallel to the ground. And then with the exhale bring them close so that your right elbow touches your left knee, as you crawl up your belly. Reverse the hand and leg for the next crunch.
2. Cow Face Pose
The Cow Face pose is the best pose you can ask for shoulder stretching and strength. The cow face pose will prepare your shoulders for a wide range of motion. And more interestingly, maximum power at the extreme range of motions.
- Sit in a staff pose.
- Bend your left knee, and pull your left foot from under your right leg and to your right side.
- Place your left heel against your right sitting bone.
- Bend your right knee, and pull your right foot over your left knee, take it to your left side, and press the right heel against your left sitting bone.
- Your knees will stack up over one another.
- Now raise your right hand overhead, then bend from your elbow joint and take it behind your upper back, against the middle of your shoulder bones.
- Similarly bend the elbow of your left hand, and take your left hand towards your right hand from the left side of your ribs.
- Clasp both your hands together in the middle of your shoulder bones.
- Take 5-7 breaths and release the pose.
- Now alter your legs and hands and repeat the pose.
Note: instead of clasping your hands together, you can keep a racquet in between your shoulder blades. Grab the handle with your bottom hand and the top with the top hand.
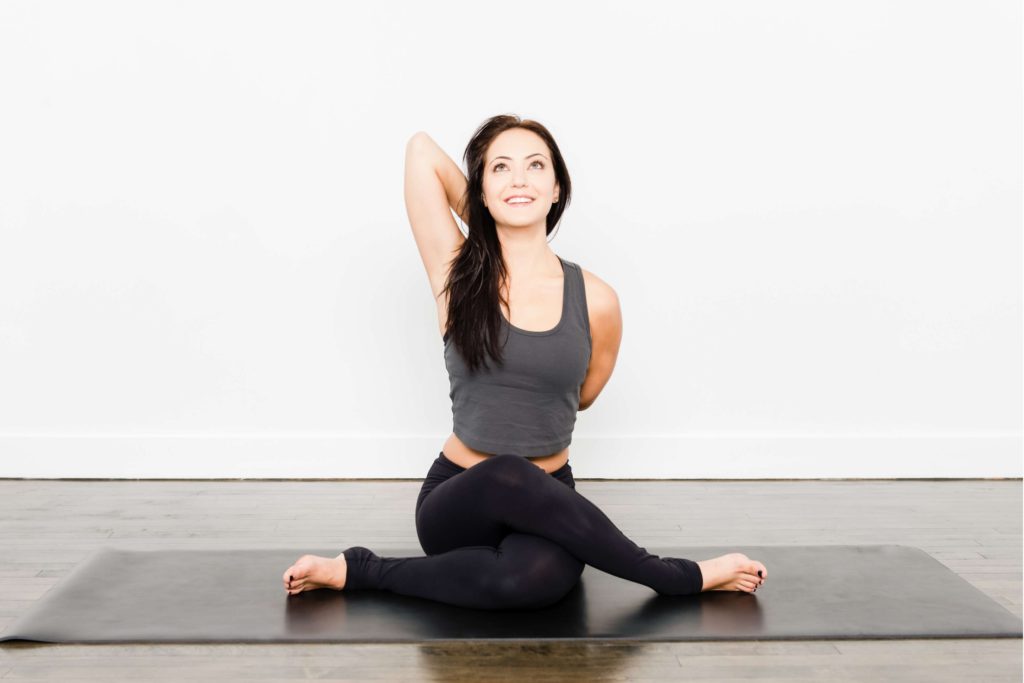
3. Pigeon pose
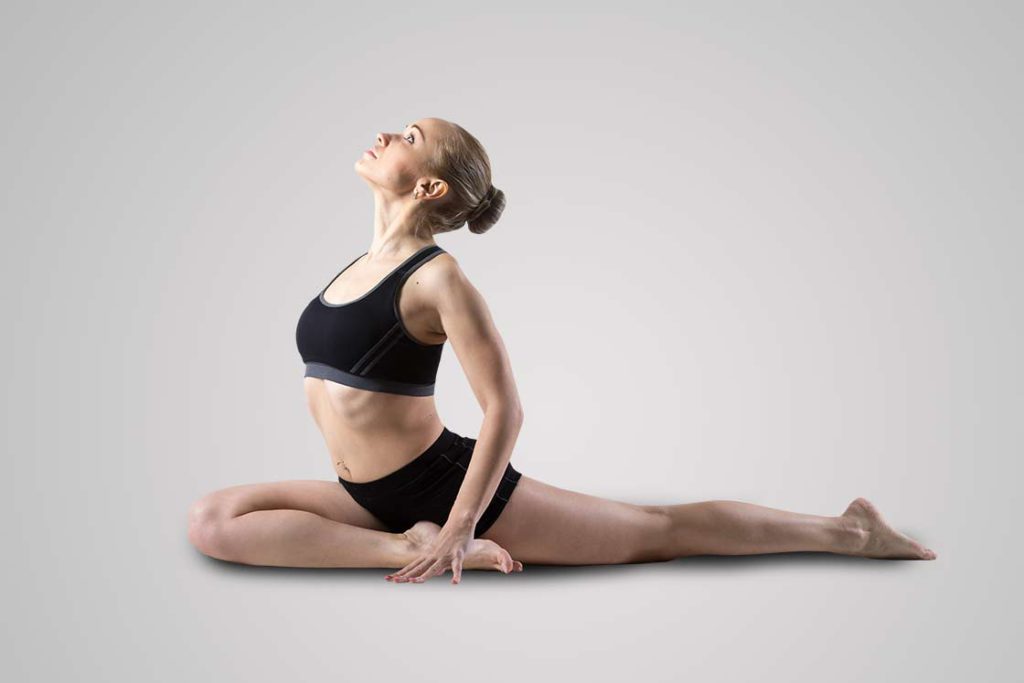
Pigeon pose is the complete yoga for your hips and lower body. It deeply opens up the muscles in your thighs, lower legs, glutes and hips. It also increases the capacity of your knee joints, hip joint and ankles.
- Start by getting down on all fours.
- Keep your wrists under your shoulders and knees below your hips.
- Push back, and pull up your buttocks upward and backward in the air.
- Stretch and straighten your hands, straighten your knees and legs as well.
- Lift your left leg, bend it from your knee and place it Infront.
- This should create a split in your groin.
- Your left knee should be in line of your left hip and your left foot should be in line of your right hip.
- Let your right leg stretch out behind you, as you sit balancing on the stretch of your groin.
- Try to balance your body in the middle and not lean on either side.
- Do let your right leg fall out the line of your right hip either.
- Now slowly bend forward, and rest your upper body on the floor infront of you. Join your hands in a clasp infront of your head.
- Hold the pose for 5 breaths and repeat the pose by altering your leg roles.
Note: You can rest your head on a folded towel or a yoga block. And as you split your groin, put a bolster or a folded blanket to ease your sitting.
4. Side plank pose
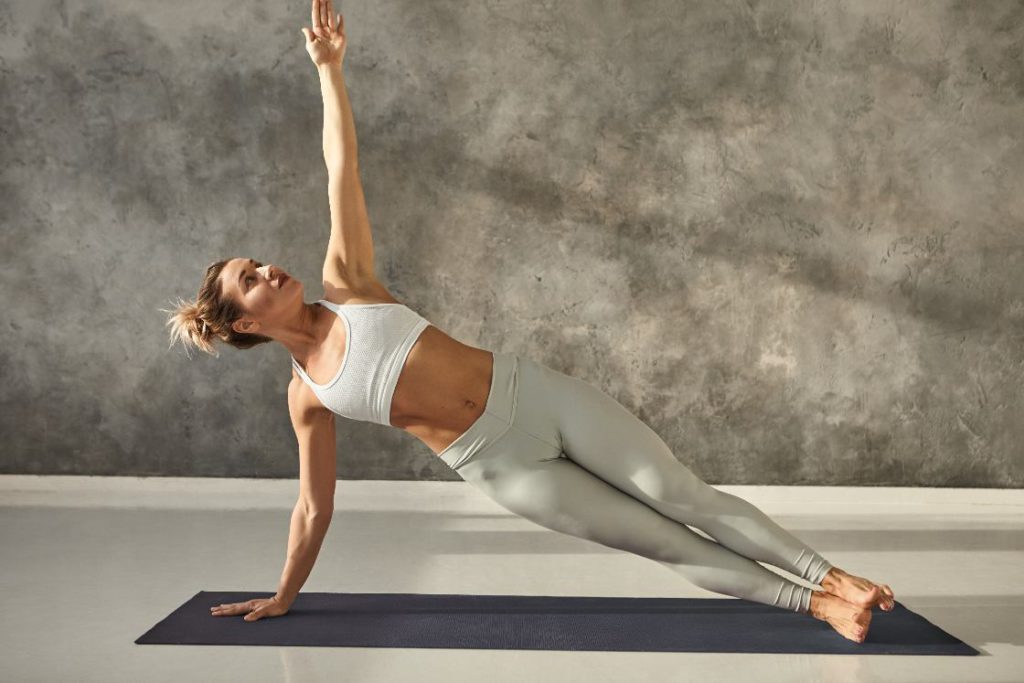
The side plank pose is the pose you must practice for more rotational power. The side plank specifically strengthens your side abs, side hamstrings, triceps, wrists, and shoulders.
- Kneel down on your knees, with your knees hip length apart.
- Fall to your right and touch the ground with your right hand.
- Straighten your knees and stretch out both your legs to your left.
- Stack up your legs one top of another.
- Adjust your right wrist to be exactly below your shoulders.
- Pull up your hip to keep your body in one straight sloping line.
- Keep your abs, hamstrings, glutes and hips engaged to hold the pose.
- Keep your head in line of your spine.
- Lift your left hand straight up in the exact opposite line of your right hand.
- Look towards your left hand.
- Hold the pose for 5-7 breaths and repeat on the other side.
Note: If you want to increase the difficulty level, and add some extra exercise to your legs and abs, lift your left leg up, keeping it parallel to the ground.
5. Tree pose
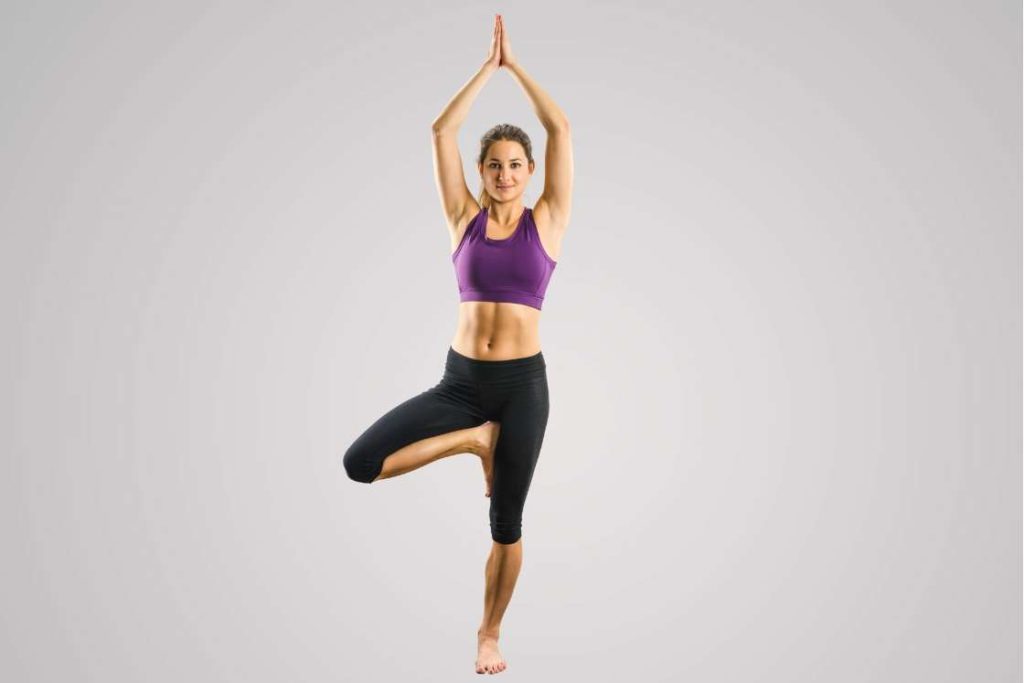
Tree pose is the yoga in your list that brings balance to your muscles and establishes smooth nervous functioning. The tree pose teaches you control over your body like no other pose. The tree pose will also increase your cardiovascular functions. This pose is also quite good to explore the spiritual nature of yoga.
- Stand in a mountain pose with spine erect, shoulders pressed down, hands by the sides of your body and legs hip length apart.
- Balance your body weight towards your right side.
- Balance your entire weight on your right leg and lift your left leg off the floor.
- Pull your left foot closer to your groin, and rest it against the insides of your right thigh.
- Raise your hands overhead and join your palms together.
- Hold your pose for 30 seconds to One minute and repeat the pose balancing on your left leg.
Note: You can assist your initial balance by keeping a wall towards your balancing leg, or a chair as a support under your folded leg.
6. Revolved Chair
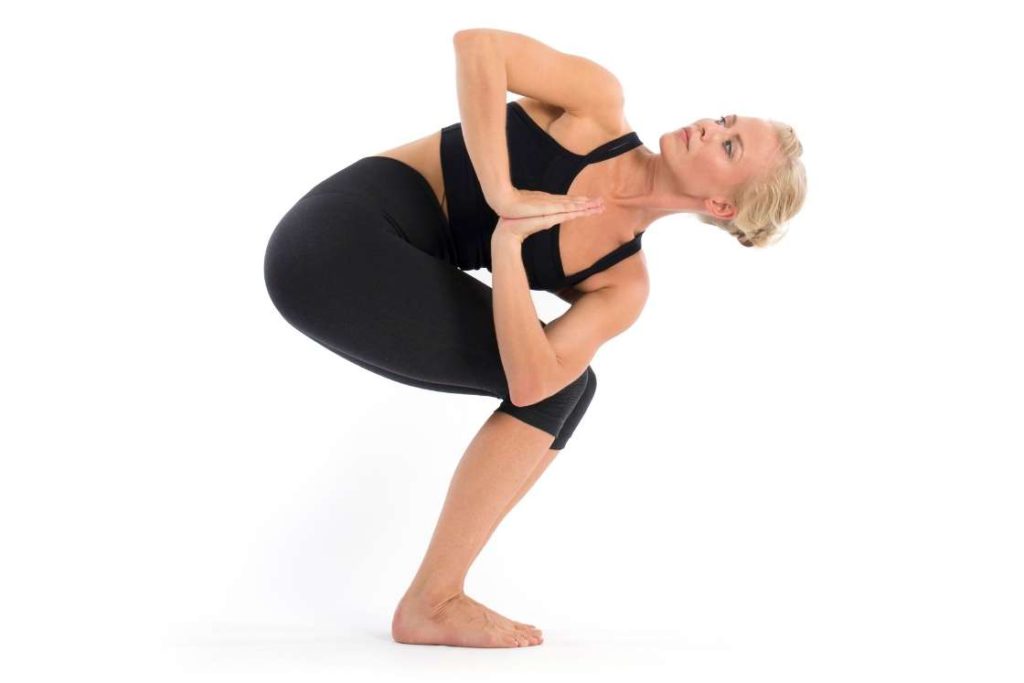
The revolved chair is the pose for your abs, hips, glutes, and hamstrings. The biggest benefit of this unique pose, however, is its spine twist benefit. The spine twist in a revolved chair will train your spine for an intense degree of twists. This pose will help you generate a lot of rotational force.
- Stand in a mountain position and start going down in a squat.
- Keep going down till your thighs are parallel to the ground.
- Rest your upper body on your thighs.
- Twist your body from your torso, to your right by 90 degrees.
- Join both your hands in a Namaste mudra Infront of your chest.
- Hold the pose for 5 breaths and release and return to Mountain position.
- Repeat the pose by twisting 90 degrees to your left
Note: Remember it’s essential that you get down in the squat and then go for the twist. And sit down for a squat in an already twisted posture. That will greatly increase the chances of injury.
7. Crow pose
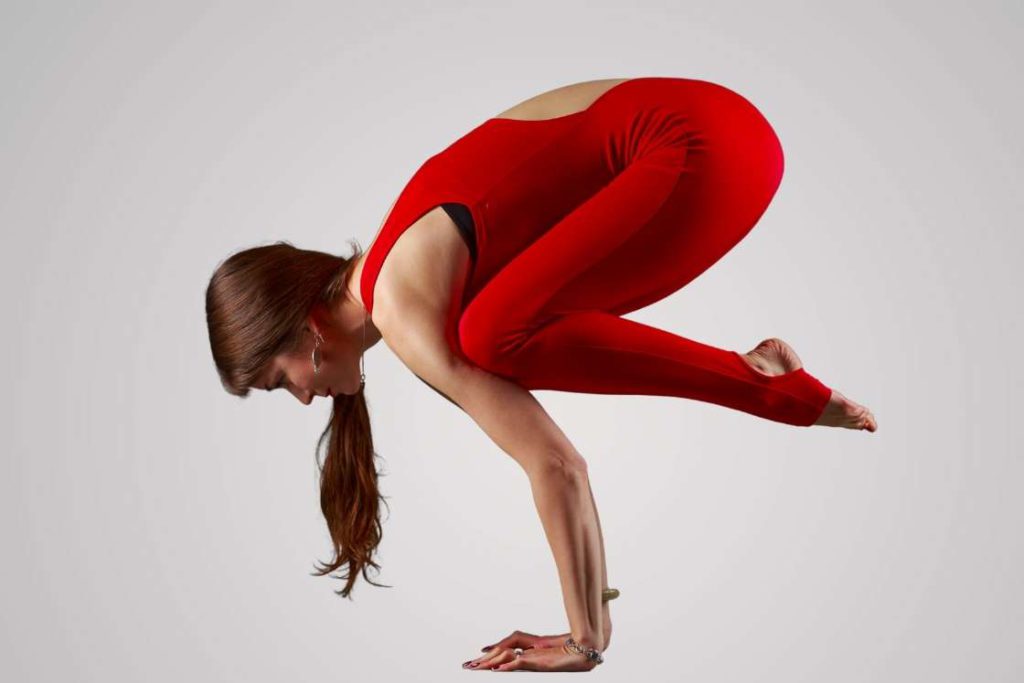
The crow pose is the complete upper body and arm strength pose. This pose will prepare you with the explosive power you need during executing each stroke. Crow pose will strengthen your wrists, arms, biceps, triceps, shoulders, upper back, chest muscles and abs.
- Sit in a full squat on a bolster or a yoga block.
- Drop both your hands down infront of you on the floor.
- Firmly plant your hands, and raise up on your toes.
- Lift your buttocks upward and backward in the air, and straighten your hands.
- Keep your shoulders pressed down and your neck free from your shoulders.
- Look straight in front.
- Gradually lean in front with your knees touching your triceps
- Balance your weight on your hands and lift your toes off the yoga block
Note: The balancing will take some time, so be patient with it. Try leaning on with your body on your hands, and nicely feel the weight of it. Then gradually lift off one feet and check the balance and then go ahead with the final pose.
Conclusion
Yoga poses will improve your tennis strokes, by increasing the range of motion in your joints and by increasing your muscle performance. Also, yoga provides therapeutic relief and wound healing for post-game injuries.
Last but not least yoga will charge you with an immense backup of energy. With enhanced respiratory and cardiovascular performance, you will become an energy-efficient athlete.
: Steps, Benefits, Variations")
: How to Do, Benefits and Variations")
: Steps & Benefits")

