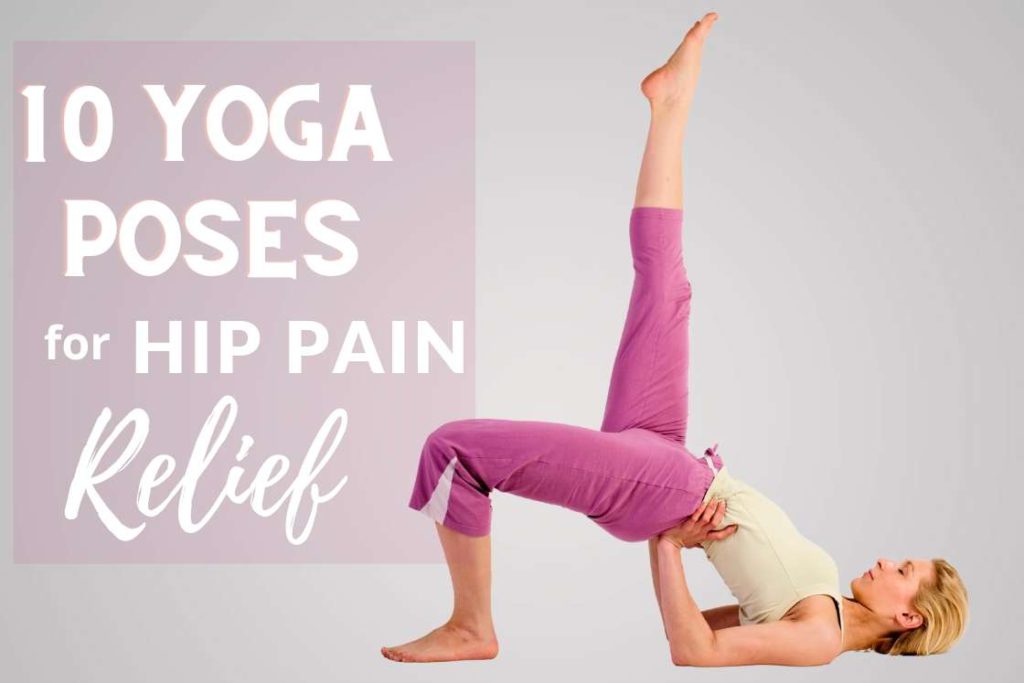
Stiff and painful hips can drastically reduce your mobility, and obviously be a cause of constant misery. Your hips bridge your upper body to your lower, which makes them pivotal to all movements your body makes. In most cases, this is not a serious matter of concern. You can simply resolve this issue with a gentle yoga flow and stretching exercises for opening hips which relieve tension in your hip muscles.
Did you know your hip is your body’s largest ball-and-socket joint? And being so, it can withstand a significant degree of wear and tear, without letting you feel a thing. However in some cases, the damage is too extreme, and you begin to feel it in your hip. The damage can be caused to either of the following elements, bones, cartilages, muscles, or tendons.
Some common conditions that can cause hip pain are:
- Arthritis
- Osteoporosis
- Bursae inflammation
- Tendon inflammation
- Muscle strain
- Tear of the labrum cartilage
- Impact trauma
How Yoga Can Relieve Your Hip Pain?
Yoga provides multiple benefits that can collectively apply to different causes of hip pain. The first and foremost is the muscle and joint stretches of yoga not only increase the flexibility in your hip but also build strength and correct poor alignment.
Secondly, gentle yoga poses are more about providing relaxation to tight hip muscles. This will aid the cell regeneration of the injured cells. Thirdly, standing yoga poses and yoga twists can effectively increase the blood flow to your hip region. This will be particularly beneficial in rare cases of osteonecrosis, where bone cells die due to obstructed blood flow.
The restorative yoga stretches are also very good for your neurological functions. An efficient stimulation to your CNS and Peripheral nervous system, will ease your pain and improve your control over your muscles. Finally, yoga has proven anti-inflammatory benefits, which will specifically address the inflammatory causes.
Yoga Poses for Hip pain
Most yoga poses for hip pain, are simplistic and have minimum injury risk. However, you must consult your physician before initiating your training. Also, if you see fit, you can reach out for the modifications of each pose that provide a support system. These modifications will not help you avoid injuries, but also aid you in getting the hang of the physical flow of yoga.
Try out these gentle yoga poses for hip pain relief and relax your hip muscles.
1. Mountain Pose
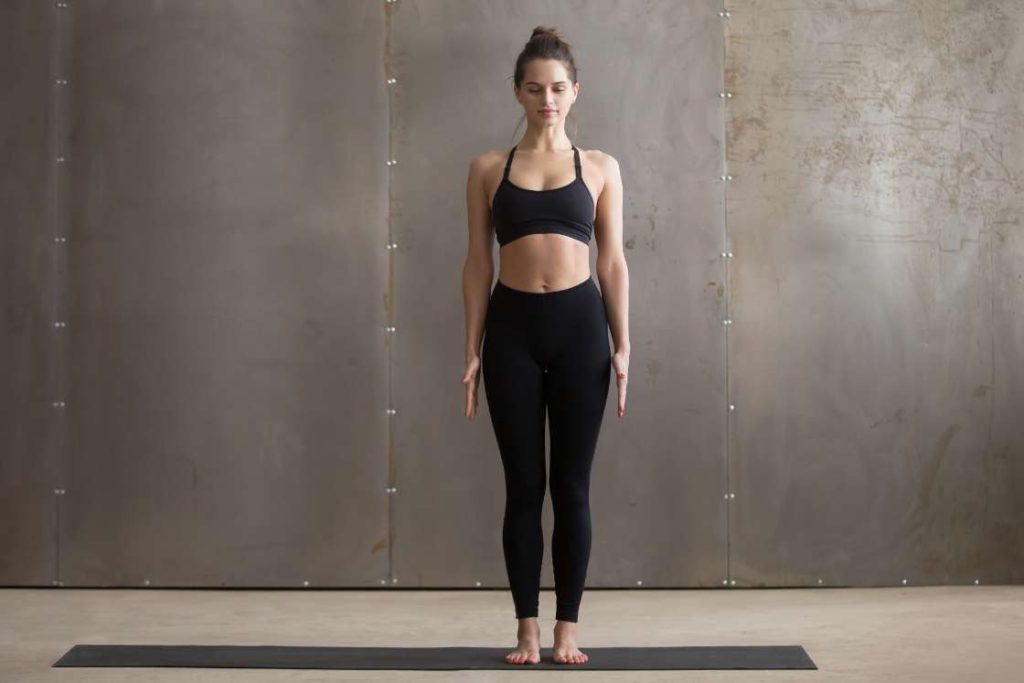
Mountain pose is very simple both in terms of looks and difficulty. But make no mistake, its benefits are paramount. In case of your hip pain, the benefits you will enjoy are enhanced blood flow, correction of hip Posture, and healing of pelvic floor nerves.
- Stand straight with your legs hip width apart.
- Keep your spine erect and maintain your lumbar curve.
- Press back your head, to keep it in line with your hip.
- Press down your shoulders and keep your hands straight by the sides of your body.
- Open your palm, facing forward, and point your fingers downward.
- Look straight, breathe and hold the pose for upto a minute.
You can use a yoga block to improvise mountain pose in a couple of ways for hip stregthening. Slide a yoga block in between your thighs, press it firmly while maintaining standing tadasana position. Or you can place a yoga block under one feet, and make the pose dynamic, by rising up and down on one leg.
2. Warrior 1
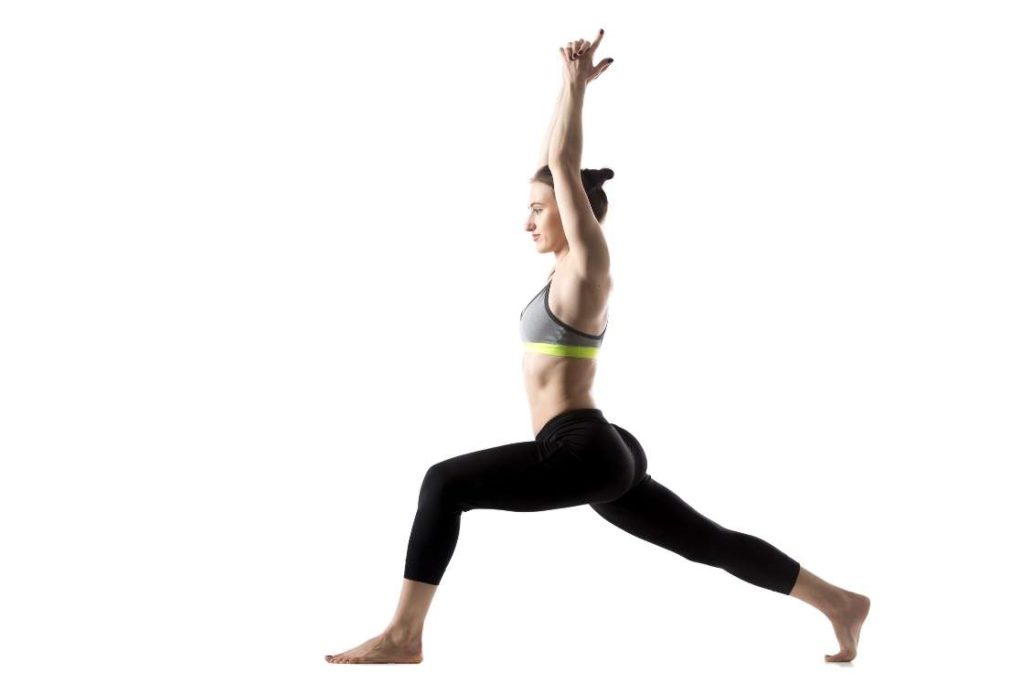
Warrior 1 is a very gentle and appropriate stretch for your hip muscles. This pose involves the right degree of stretch for your muscles and tendons to activate healing. This pose will also increase the strength and control in your hip region.
- Stand with your legs wide apart.
- Maintain a gap of say 3-4 feet.
- Keep your right heel fixed and rotate your right toe to your right by 90 degrees.
- Lift your left feet on your toe, and rotate your left heel to your left by 90 degrees, and place it on the floor.
- As you rotate your left heel, with that motion rotate your upper body to your right by 90 degrees.
- This should make your initial right side, your current front.
- Keep your body centered, and bending your right knee, push your body forward over your right leg.
- Push forward to a point your left leg is stretched straight backward, and your right lower leg is at a 90 degrees to the floor.
- Keep your spine erect, look forward, and raise your hands overhead.
- Join your hands in a Namaste.
The pose will put significant stress on your leg and abdomen muscles. If you lack the strength, use supports on both sides to carry your weight. Having walls on your both sides is the best support. If your hip region muscles are weak, not using a support might injure the bones and ligaments of your hip.
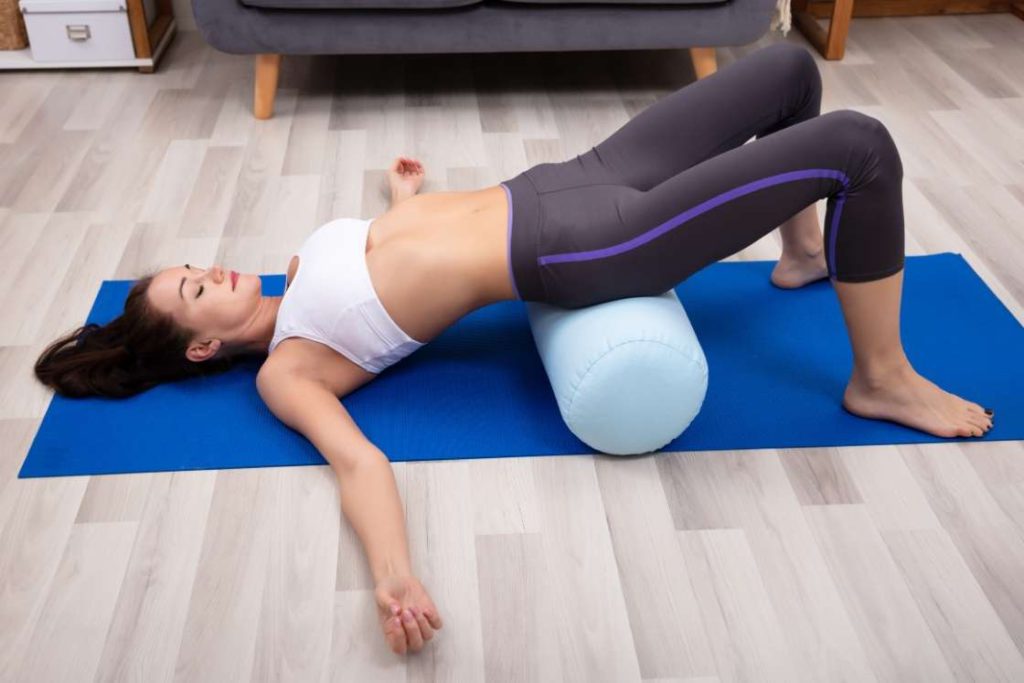
3. Eye of the needle
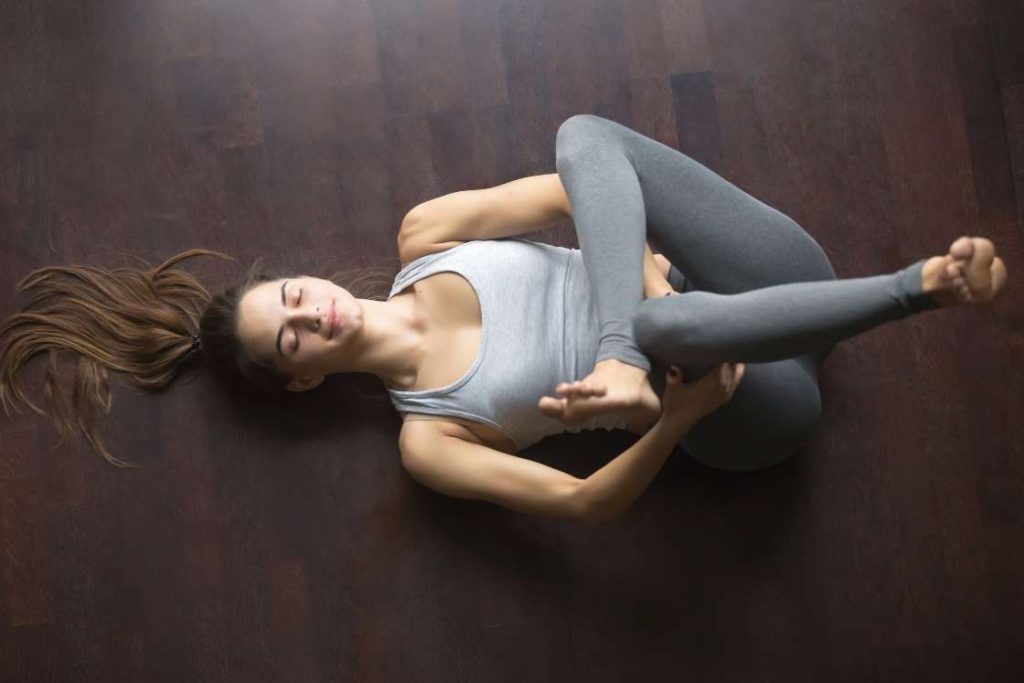
Eye of the needle pose looks like a pose for your legs, but it is in reality a hip flexing pose. This pose gives a gentle stretch that makes it a must-do hip pain-relieving exercise.
Practicing eye of the needle pose will make the muscles in your hip region supple, increase blood flow, and establish anti-inflammatory benefits in injured hip muscles. Hold this pose for a while and it will act as an instant hip pain reliever.
- Lie supine on your back.
- Do not rest your hip region resting against the floor. Keep it off the floor, maintaining the lumbar curve.
- Maintaining the curve, bend and fold up your knees.
- Lift your left leg and place the left foot against your right knee. Like in a figure four Posture.
- Clasp your hands around the middle of your right thigh.
- Now relax and extend your hip, by pressing your right leg against your hands, and farther from your body.
- After reaching for the maximum extension, slowly pull your leg towards your body.
- Pull your leg till your right knee comes up over your naval.
- Repeat the pose with the other leg.
Remember not to rest your hip on the ground at any point in this pose. The arch in your hip is quintessential to this pose. You can also use a strap around your thighs to pull your leg. You can also slide in a folded blanket under your hip to evenly maintain the gap.
4. Bound angle pose
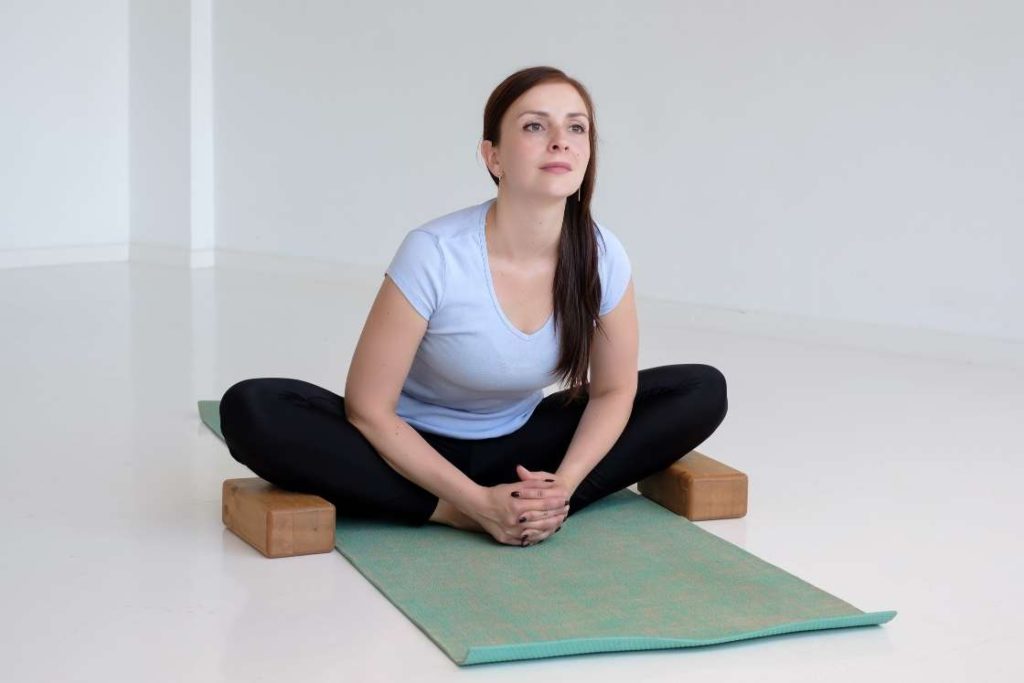
Much like the previous pose, bound angle pose is also a relaxing stretch for your hips. However, unlike the eye of the needle, which works more on the upper portion of the hip region, reclined bound angle will stretch more of the lower hip. This pose is very beneficial to your hormonal activities and stress levels. Thus anti-inflammatory benefits are often related to this pose.
- Sit in a staff position
- Bend and fold up your knees.
- Keep your knees and feet joined.
- Gradually open your knees towards your sides, letting them drop toward the floor on their respective sides.
- Do not let your knees fall all the way to the ground, but keep them slightly off the ground.
- Now hold the floor and gently recline back, till you are lying on your back.
- Maintain the butterfly-like formation in your legs.
- Keep breathing steadily and hold the pose from 30 seconds to a minute.
You can place yoga blocks under your knees, to support them during the hold. They will come particularly healthy if you have heavy legs. Heavy legs could, otherwise, pull on your groin crease and hips.
5. Bridge Pose
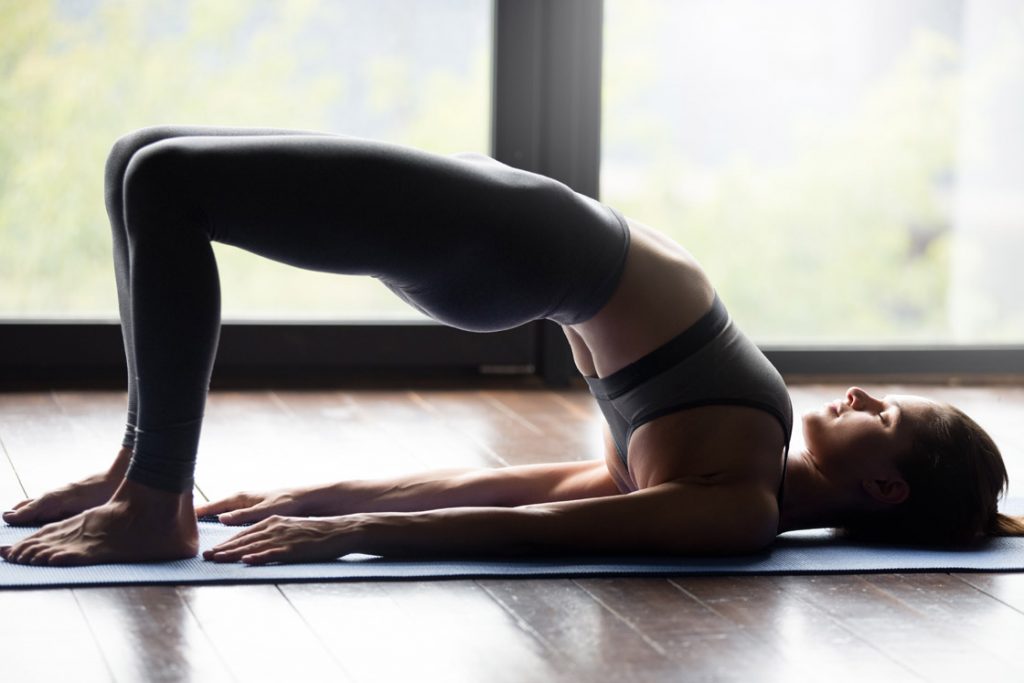
Bridge pose is a very holistic pose that works on your musculoskeletal system and internal organs alike. This pose will stimulate your CNS, improve your metabolism, aid your respiration and release muscle stress from your hip, thighs, abs, and back.
- Lie supine
- Keep your hands by the sides of your body.
- Keep your legs hip width wide.
- Press against the ground and raise your pelvis upward.
- Use your abs, glutes and backs muscles, actively to power the raise and then the hold.
- Your pelvis should come up to the height of your knees, and your chest should come onto your chin.
- Your shoulders and shoulder blades should not be lifted off the floor
- Look towards your heart and breathe steadily.
- Hold the pose for 5-7 breaths.
Elevation will force your knees to extend outward, you will need to resist it. You can strap your thighs together to avoid this outward extension. You can also support your lift and hold, by using your hands to hold your hips. Alternatively, you can place a yoga block vertically below your hips.
6. Boat pose
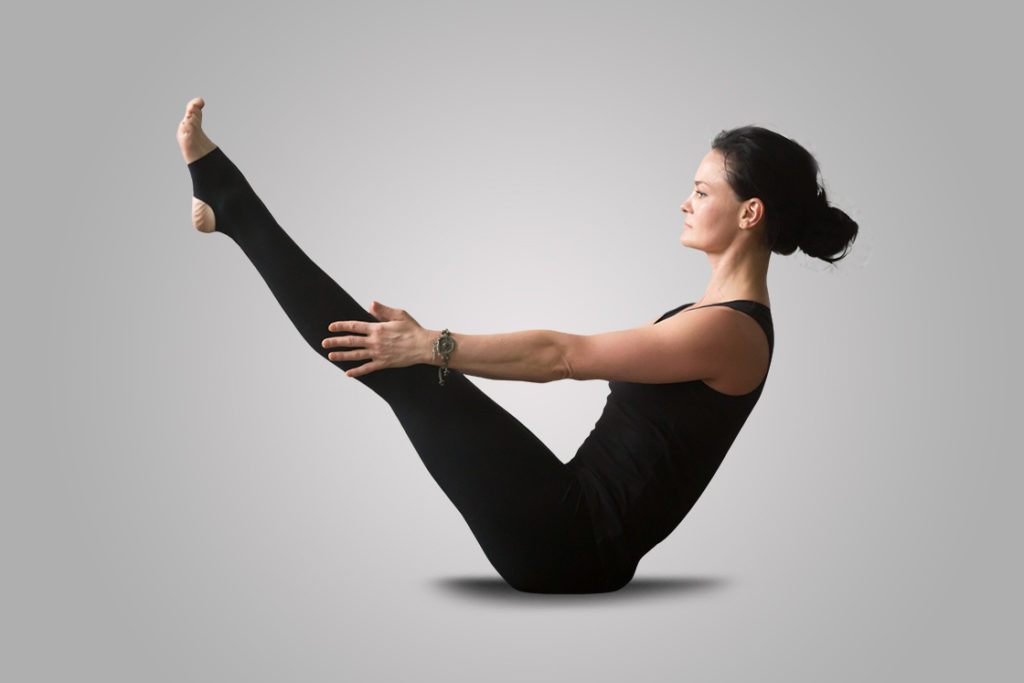
Boat pose is very effective in optimizing your metabolism which means it will benefit a whole range of mechanisms tied to the chemical processes involved in nutrition management by the body. This pose is mostly linked to digestive benefits, and ab strength, but its effects on your hips are equally potent.
- Sit in a staff position.
- Fold and Bend up your knees.
- Recline back slightly.
- Keep your knees and feet joined.
- Lift your lower legs up, keeping them parallel to the ground.
- Actively engage your hamstrings and abs.
- Keep your hands by the sides of your knees, or place them on the ground if you lack balance.
- Breathe comfortably and hold the pose for 20 seconds.
Lifting up your legs and holding them for 20 seconds will take a lot of muscle strength. If you lack the strength, supplement it by gripping your hamstrings with your hands. You can keep your hands gripped throughout the pose.
7. Half lord of the fish
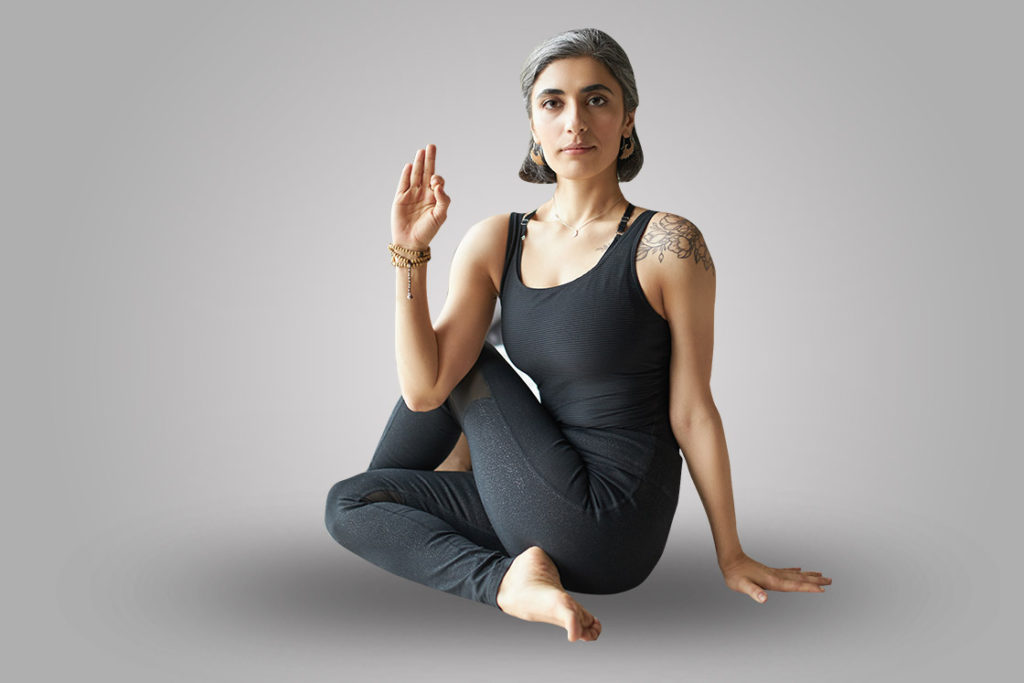
Half lord of the fish is more of a twist than a stretch for your hips which means it will stimulate weak hips muscles. This stimulation will bring healing effects to the muscles surrounding and supporting your hip region. Half lord of the fish will also increase the mobility of the hip joint and the related ligaments.
- Sit in a staff position.
- Bend and fold up your right knee.
- Take your right leg over your left leg, and to the left side.
- Place your right foot against the left knee.
- Keep your upper body erect.
- Now hold your right knee with your left hand, and twist your body to your right and turn right by 90 degrees.
- Your chest should be facing your initial right.
- Look in the direction of your right shoulder.
- Hold the floor behind your sitting bones with your right hand.
- Breathe steadily and hold the pose for 5-7 breaths.
- Repeat the twist to your left.
If the twist while sitting feels difficult, sit on a chair and do the same pose. The concept will remain the same, only instead of Folding up your right knee over your left, you simply stack the right knee over your left.
8. Happy baby pose
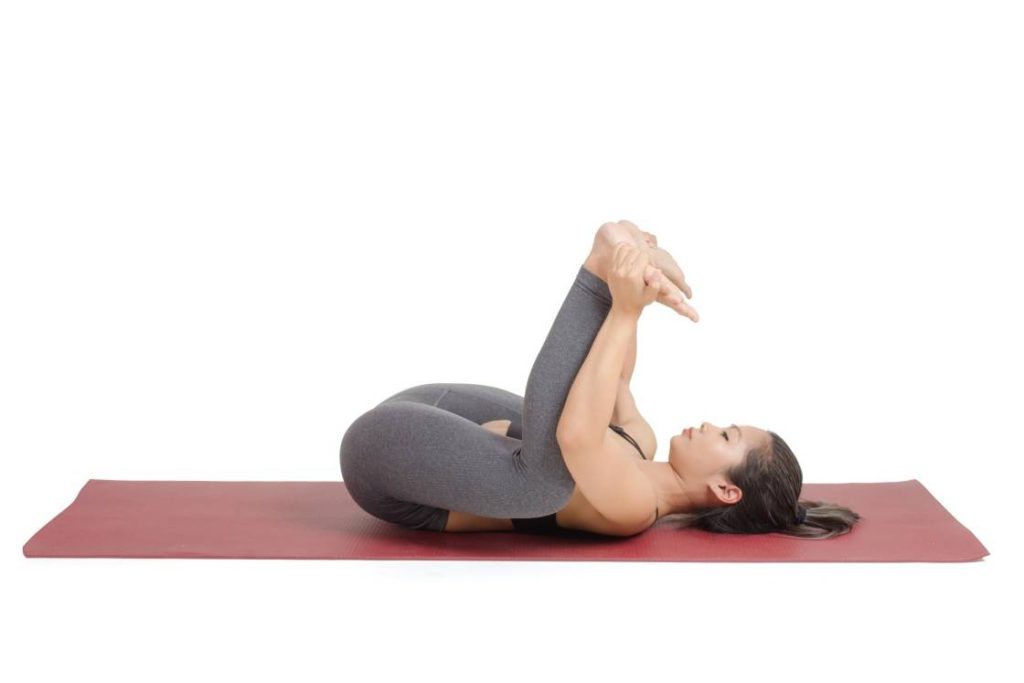
Happy baby is a very deep stretch that acts both as a healing and flexibility-increasing pose. The happy baby is also a great pose to enhance your hormonal activities and relieve stress. This pose alongwith your hip will also heal your entire pelvic floor.
- Lie supine on your back.
- Bend and fold up your knees.
- Keep your legs joined.
- Pull your knees toward your body and touch your chest.
- Now take your hands in between your legs, and hold your big toes.
- Pull you big toes outward, and with it your knees should open outward as well.
- Pull your toes and knees downward, so that the stretch in your groin increases.
- Breathe comfortably and hold the pose for 20 seconds.
The groin stretch should not be forced. Ideally you need to pull down your toes and knees, till your knees almost touch the ground. However, you might not have the required groin flexibility at the beginning, so pull only till it feels comfortable. At the minimum try to take your knees and get them down to the level of your hips.
9. Supine twist
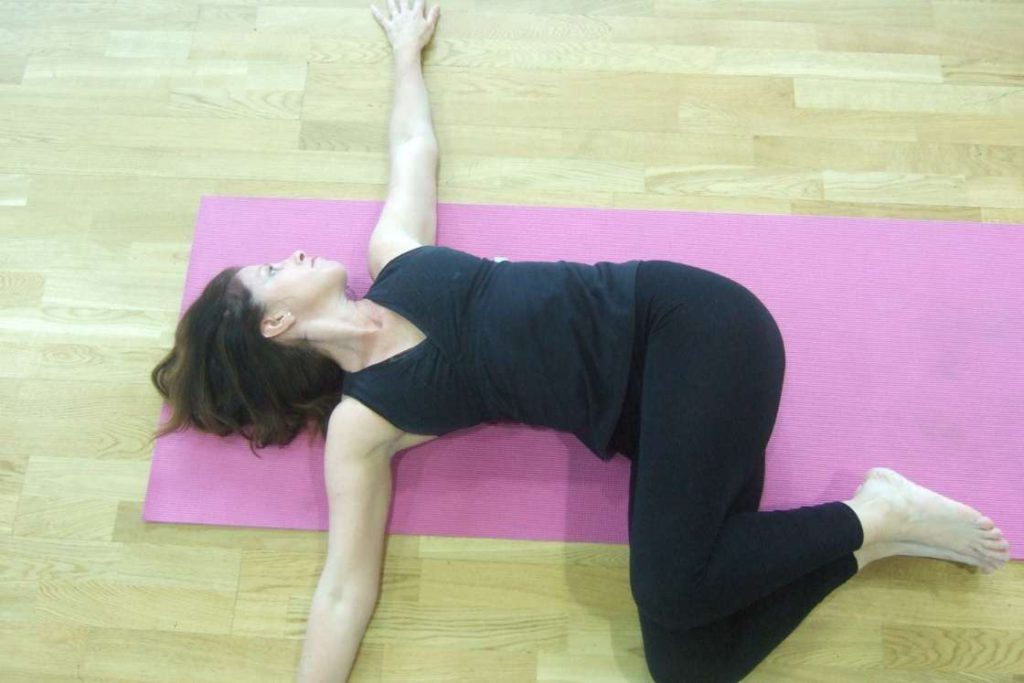
Once again like the happy baby, supine twist is also a healing and flexibility increasing pose. The twist involved in this pose, whilst keeping your muscles relaxed, trains your hip to be comfortable at a great range of stretch and motions. This pose will come in handy in training your hip to avoid injuries.
- Lie supine on the floor
- Bend and fold up your right leg.
- Take your right leg over your left leg, and to the left side.
- Place your right foot against the left knee.
- Extend out both your hands outward from your shoulders.
- Hold your right knee with your left hand, and pull it down towards the floor on the left side, creating a twist in your torso.
- Keep pulling your knee down, till it almost touches the floor.
- Keep your right arm extended outward, right shoulder in its initial place and upper body centered.
- Breathe comfortably and hold the pose for 5-7 breaths.
- Repeat the supine twist to your right.
Note: Your abs may initially lack the flexibility required for a complete twist. So gradually pull to an extent it feels comfortable. Gradually with each session increase the degree of twist, till you can touch the floor. Also don’t force your right shoulder to be stuck to the ground, let it lift off the floor, just be aware that your upper body is not turning.
10. Downward facing dog twist
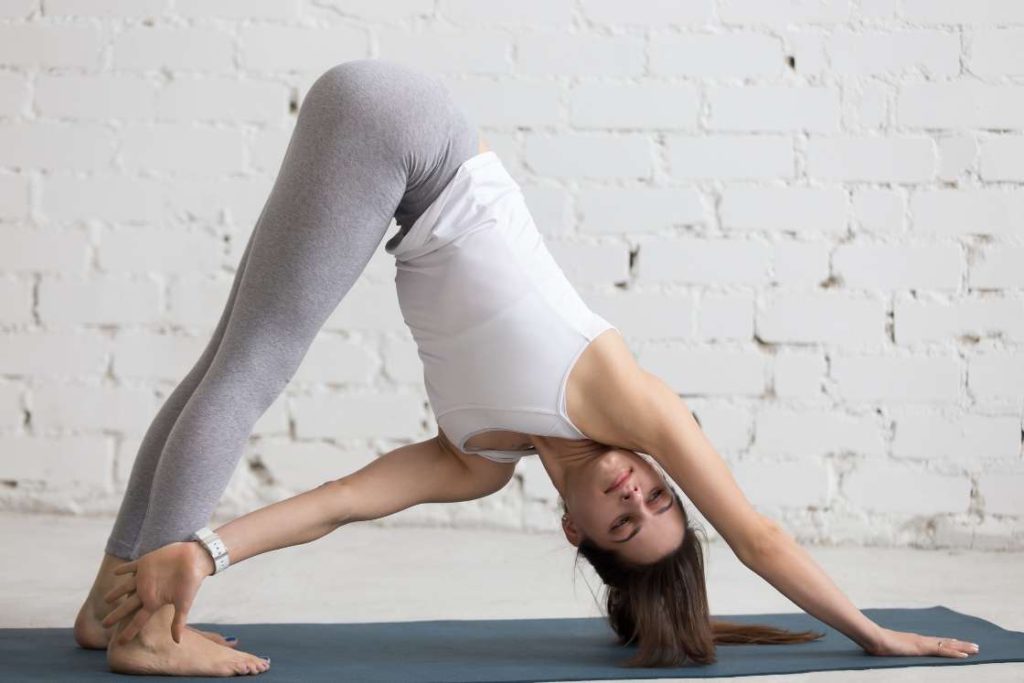
Downward facing dog with a twist is the second holistic pose in this list, alongside the bridge pose. The normal downward facing dog itself is a pose with benefits like, improved blood circulation, enhanced nervous functions, heightened musculoskeletal strength, and much more. Adding the hip twist to the pose, focuses each of its benefits specifically towards the hip region.
- Get down on all fours, hands and knees
- Keep your legs hip width apart.
- Ensure your wrists are exactly below your shoulders and your knees below your hips.
- Lift your knees off the floor and push upward and backward with your buttocks.
- Push back till you can straighten your hands and stretch your upper back, and straighten your legs and knees.
- Push your chest downward and without breaking your knees, place your heels back on the floor.
- Now Twist your torso and turn to your right to touch your right foot with your left hand.
- Hold the twist for 2.3 breaths and return to the centre position.
- Twist your torso to your left and touch your left foot with your right hand.
- Hold the twist and take 2-3 breaths.
- Repeat the twist for 2-3 rounds and release.
You can practice the downward stretch and the downward stretch twist as two separate yoga poses, that will benefit you as well. In such a case, you can place a yoga block under your heels during the twisting pose.
 for Beginners: A Complete Guide To Get Started")


