- No warm-up
- Breath incoordination
- Spinal lift
- Spinal alignment
- Cobra vs. upward dog
- In low-lung
- Focusing more on rounds
- Incomplete cycle
- All 12 poses in one go
- Practice without mindfulness
- Tips
Have you ever gone through a reality check for your Surya Namaskar practice? Surya Namaskar for beginners is often mistaken as a mere physical workout that is performed as a preliminary practice for a further yoga session.
Understanding Surya namaskar beyond its physical postures comes in handy to avoid the common mistakes that every beginner commits.
Every aspirant has been told that Surya Namaskar is the core of yoga since most of the traditional texts claim that no yogic session is considered successful until the Sun is worshipped. However, common mistakes beginners often tend to make by avoiding one or more components of this practice, i.e., either pose alignment, breath coordination, mantra chanting, or mindful vinyasa.
Therefore, this piece of information is framed for the beginners to avoid the common mistakes and master the 12 poses of Surya Namaskar.
10 common Surya Namaskar mistakes
Every individual has a different lifestyle thus different body approaches for yoga. However, every beginner tends to attempt these common blunders while practicing Surya Namaskar.
1. Improper warm-up
Surya Namaskar involves the entire body which demands strength and flexibility. Beginners often lack both and jumping right into the poses of Surya namaskar leads to worse consequences, viz, muscle cramp, injury, etc.
Therefore, before commencing into surya namaskar practice, include light stretches, head, shoulders, wrists, knees, and hips rotation into your warm-up routine to enhance the range of motion and lubricate the major joints of the body.
2. Underestimating the significance of breath syncing
All the 12 poses of Surya Namaskar are arranged in a particular sequence following a fixed breathing pattern.
Beginners often tend to either lose the significance of synchronizing the breath with the moves or ignore it for sake of completion of the rounds. It will not fulfill the desired results and ultimately lose the essence of Surya Namaskar for which it is considered the King of the yoga poses.
The breathing sequence of Surya namaskar is a must in order to get most of its fruitful benefits. The sequence usually starts with one deep inhale and exhale in standing tadasana, then each pose of the series is followed in the inhale-exhale cycle. In the end, the sequence ends at exhalation in standing tadasana position.
3. Ignoring the spinal lift in the half-lift poses
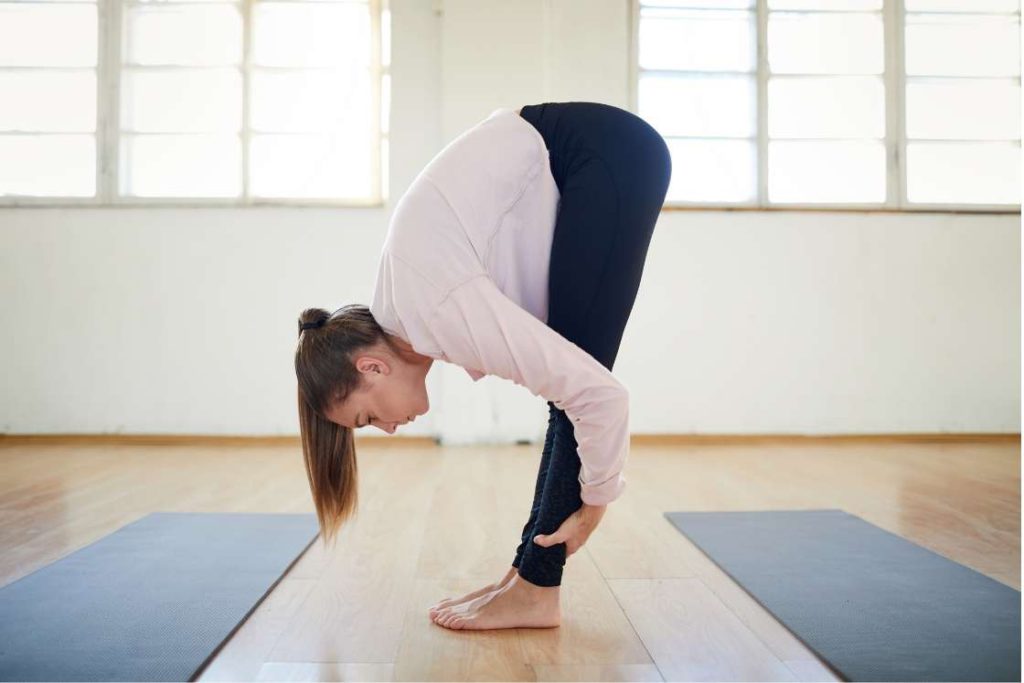
There are certain transitional poses in the Surya Namaskar practice that beginners tend to forget or do not acknowledge well. Especially, skimming over the Ardha Uttanasana while lifting the torso from the Uttanasana is a common mistake.
This not only restricts the practitioner from lengthening the spine and reaping all the possible benefits but also exerts strain on the neck due to less oxygen intake and swift transition.
So, next time you reach the switching phase from Uttanasana to Ashwa Sanchalanasana take a breath in to lift the front of the chest and place your fingertips on the floor or the palms on the shins. Then, continue the practice as such.
4. Losing spinal integrity
The spine should be entirely engaged throughout the complete Surya namaskar sequence and it is inevitable to maintain spinal integrity. However, in poses like plank beginners usually attain improper spinal alignment by dropping the lower spine to the floor. This incorrect alignment of the spine to attain the plank leads to lower back pain.
Therefore, if a bad back is something that you are left with, every time you leave your yoga mat following the Surya Namaskar, then this is the mistake that you are attempting. To keep the spine erect, press the toes and palms to the floor and keep the abdominals and upper body engaged.
5. Unable to discriminate between the Cobra and Upward-Facing Dog Pose
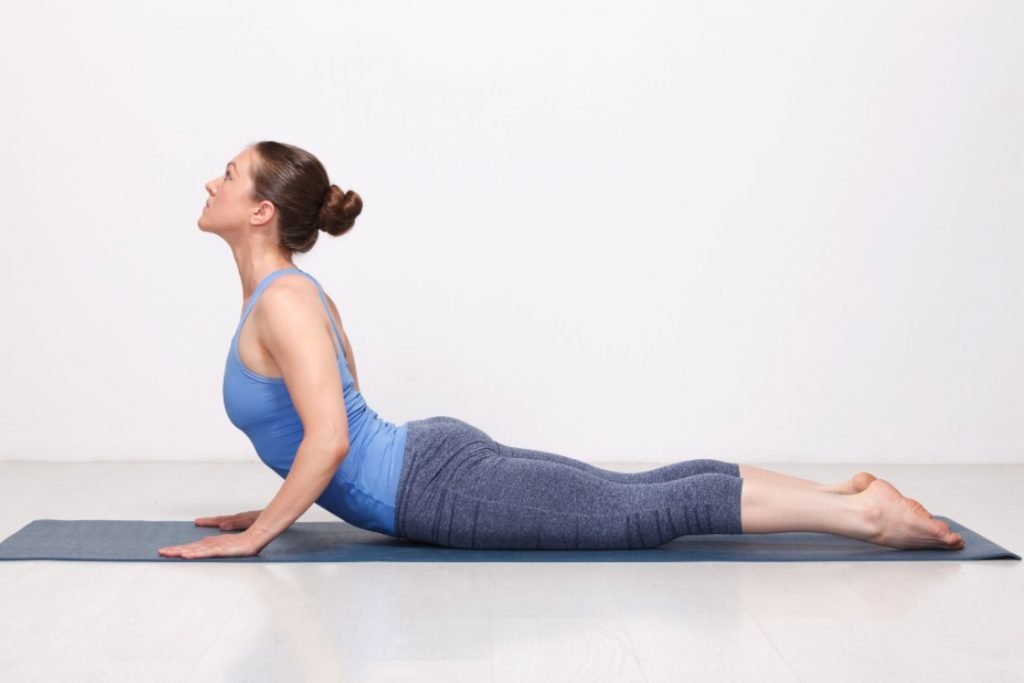
This mistake is quite common among beginners as well as advanced practitioners. People often get confused between the cobra and upward dog pose which leads them to something in between, which is of no use.
Mastering each pose individually is thus a pre-requisite to avoid such a situation. In the case of cobra and upward dog, experts suggest mastering the cobra first that ultimately prepares the body for the advanced upward-facing dog pose.
In cobra pose, entire legs, pelvis, and even ribs lie on the ground. Plus, the hands are placed on the floor in line with the middle of the chest. The palms are then pressed on the floor, the elbows are kept bent while the chest is lifted and the spine is extended moderately. However, the upward-facing dog pose is performed keeping the legs and pelvis off the floor.
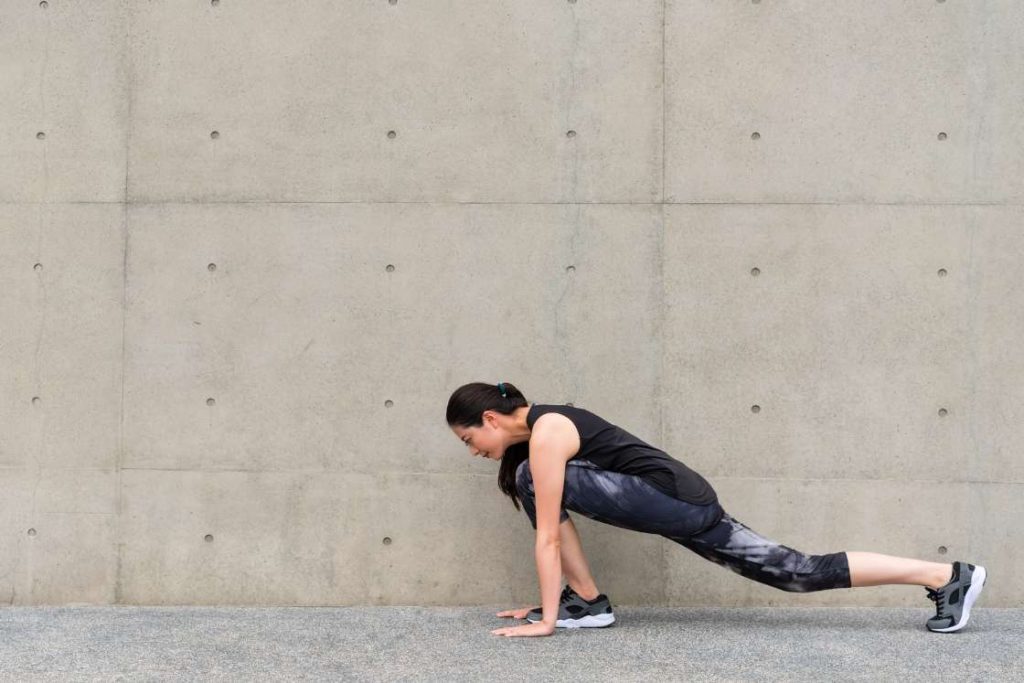
6. Extending the knees beyond the toes in the low-lunge
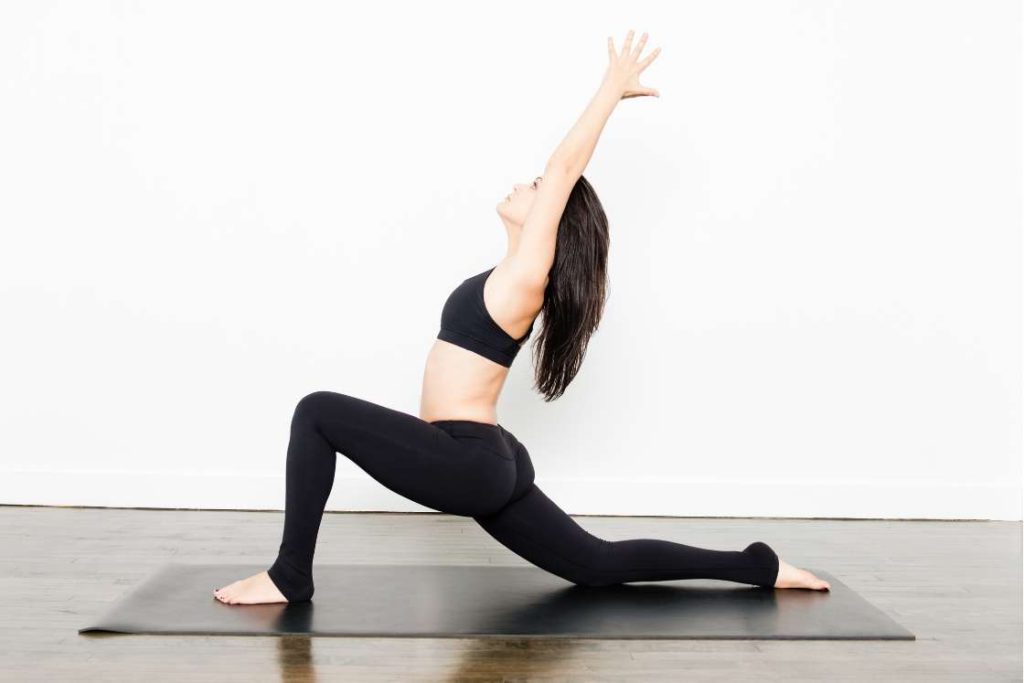
While transitioning from Downward-facing dog pose to the low lunge, it’s challenging to bring the foot forward between the hands without hyperextending the knees.
The target muscles of low-lunge are the hip-flexors which do not get any benefit if the knees are hyperextending. Alternatively, this will exert pressure on the knees and cause pain.
For this, one must first drop the knees first before stepping the foot forward to be placed between the hands.
7. Focusing on the number of rounds
“Quality always rules over the quantity”, this golden rule is also applied over here. Therefore, do not rush to increase the number of cycles in your Surya Namaskar practice.
As a beginner in sun salutation practice, doing only two rounds following the proper technique is enough to gain the benefits. Increasing the number of rounds too often tends to lose the correct technique of practicing the 12 Surya Namaskar poses.
Therefore, try to perform two rounds of Surya Namaskar on alternate day s and gradually increase to 2 rounds per day. Then, further, increase your sets keeping 12 rounds every day the ultimate goal.
8. Leaving the cycle incomplete

Surya Namaskar is a cyclic practice that starts and ends in the Prayer pose. However, beginners sometimes do not understand its significance and think that the easy poses like the Prayer pose or Raised arms pose can be skipped.
It is important to complete the first round of Surya Namaskar before stepping towards the second one, otherwise an incomplete cycle is considered insignificant.
9. Going through the 12 sets in one go
12 sets comprising of 9 rounds each is considered as the traditional way of Surya Namaskar. Sometimes, beginners take this as a challenge to go through all 9 rounds in a flow.
This is not the correct way of approaching Surya Namaskar. Do not forget that it is not a competition. Like any other yoga practice, it is all about exploring oneself and acknowledging one potential.
Avoid the fear of losing the momentum and take breaks whenever needed. Reaching the floor to relax in the child pose or breathing deeply to gain strength in the down dog pose is recommended.
10. Practicing extensive rounds without mindfulness
For an effective Surya Namaskar practice, full mind-body awareness is a must. However, beginners often find it challenging to keep the mind focused on the postures, breaths, and technique.
To avoid this mistake, best way is to chant to respective mantra for each pose and focus on the breath while transitioning between the poses.
Tips to make Surya Namaskar an easy approach
Some key points that every beginner must know to practice Surya Namaskar with interest and fun are:
- Practice Surya Namaskar in the evening hours to get started. This is so, because, in the morning the stiff muscles are not ready to go through such an intense workout. However, in the evening hours, muscles and joints are more flexible.
- Try to practice it in an outdoor setting to connect with the environment. If it is not possible, then, practicing it indoors that too in a ventilated and spacious atmosphere will do.
- Remember the correct breathing pattern by beginning with inhaling while arching the back to perform Hasta Uttanasana and then exhaling when switching to the next pose.
- Along with proper warm-up, the Surya Namaskar practice must be followed by a proper cooling down sequence. Some relaxing poses like the child’s pose, thunderbolt pose, and the corpse pose is a must to bring the body temperature back to normal.
- Make Surya Namaskar a consistent practice and avoid skipping it to have it positive impact on min, body, and soul.
Conclusion
Surya Namaskar for beginners must not sound that daunting and confusing when practiced following this approach to avoid any mistake.
Along with mastering the 12 poses of Surya Namaskar, align your body and mind, and do not forget to chant and breathe to enjoy this practice while making the most out of it.


: How to Do(Steps), Benefits, & Precautions")

